

Plastic pumpkins makeover projects are the easiest way to get a designer fall look without a designer budget. Those shiny orange pumpkins sitting in your storage bin or on a store shelf can turn into soft terracotta, stone, velvet, or gold pieces in a single afternoon. Best of all, they never rot, so you can pull them out every autumn. Here are six easy DIY ideas that readers across the US, Canada, and the UK are saving right now.
Plastic Pumpkins Makeover Prep: How to Get a Smooth Finish
A good finish starts with good prep. Wash each pumpkin with warm soapy water and let it dry completely. Then spray on a plastic-bonding primer, because paint slides right off smooth plastic without it. Choose a matte finish whenever you can, since matte instantly hides that cheap plastic shine. Apply two or three thin coats instead of one thick coat, and let each layer dry before the next.
What You Need for This DIY
Gather a few basics before you begin: plastic-bonding primer, chalk or spray paint, a foam brush, hot glue, and a matte sealer. Most of these supplies work across several ideas, so one shopping trip covers your whole plastic pumpkins makeover. Keep twine, ribbon, and scissors nearby too, since small details like wrapped stems make the biggest difference. Work in a well-ventilated space and lay newspaper over your table to protect it.
1. Faux Terracotta Pumpkins for a Warm Farmhouse Glow
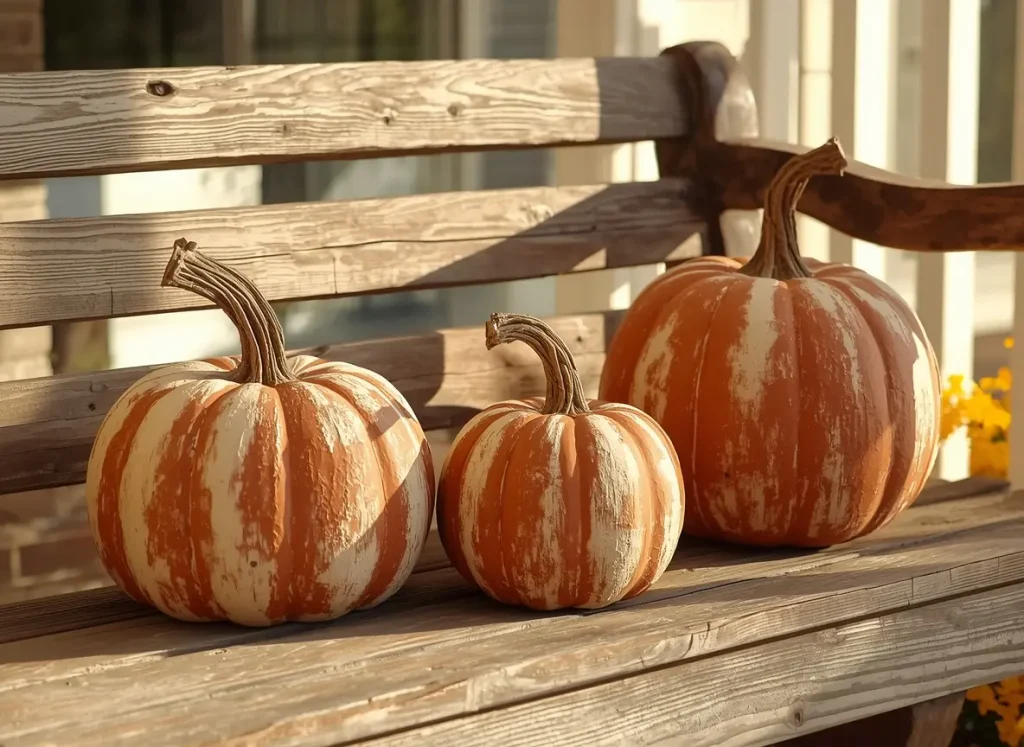
Real terracotta pumpkins cost a fortune, but you can fake the look with chalk paint in a warm rust-orange shade. Dab on a little cream paint with a dry brush for natural variation, then finish with a matte sealer. Swap the plastic stem for a short twig or a wrapped jute stem so the pumpkin feels earthy and handmade.
2. Faux Stone Pumpkins That Look Like Real Concrete
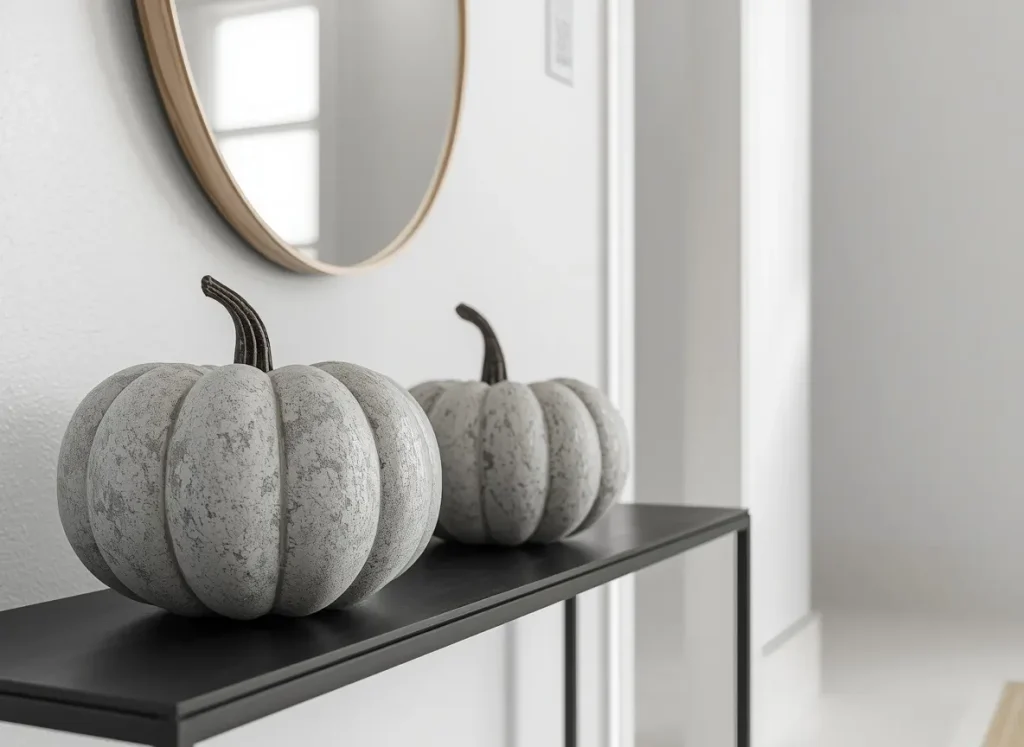
Want a modern, neutral look? Start with gray primer, then add stone-texture spray paint. The grainy surface hides the smooth plastic completely, and the pumpkin ends up looking heavy and expensive. These pair beautifully with white, black, and wood tones, so they work in minimalist homes too.
3. Velvet Pumpkins for Instant Luxury
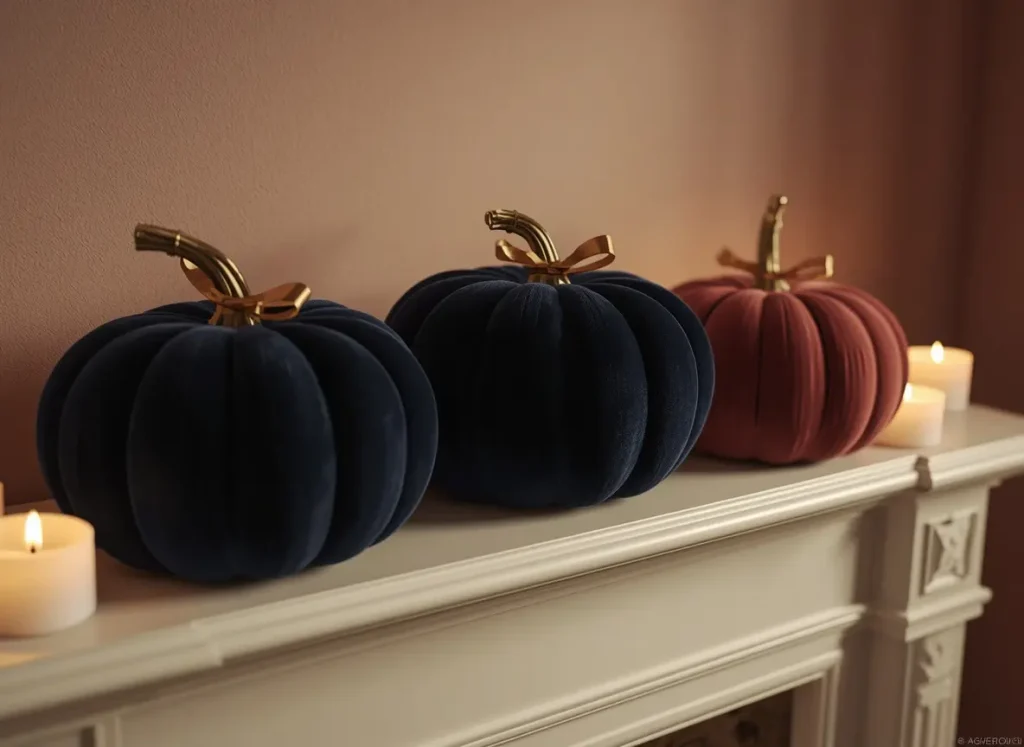
Velvet is having a big moment in fall decor. Wrap velvet ribbon around the pumpkin in overlapping strips, securing each strip with hot glue as you go, and no sewing is needed. Pick deep navy or dusty rose, and finish the stem with a small gold ribbon bow for a boutique feel.
4. Stacked Pumpkin Topiary with Cozy Lights
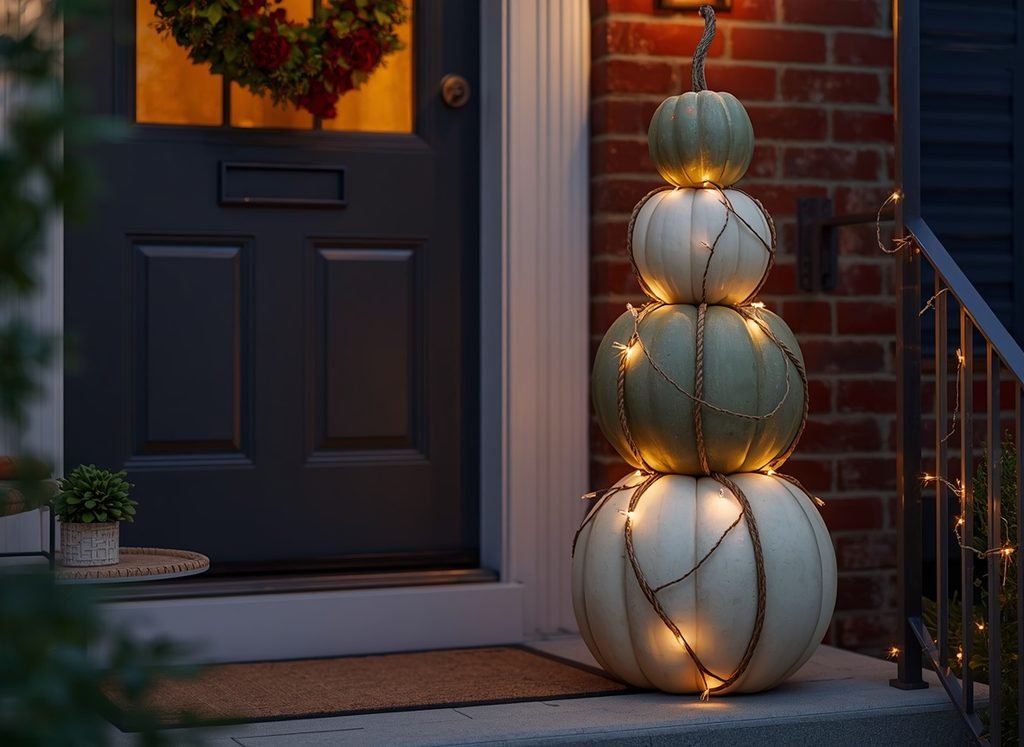
Stack three pumpkins from large to small and glue them together for a tall, elegant topiary. Paint them cream and sage green, then wrap the stems with rope so they look like one piece. A strand of battery-powered string lights tucked inside gives you a warm evening glow.
5. Decoupage Napkin Pumpkins for Beginners
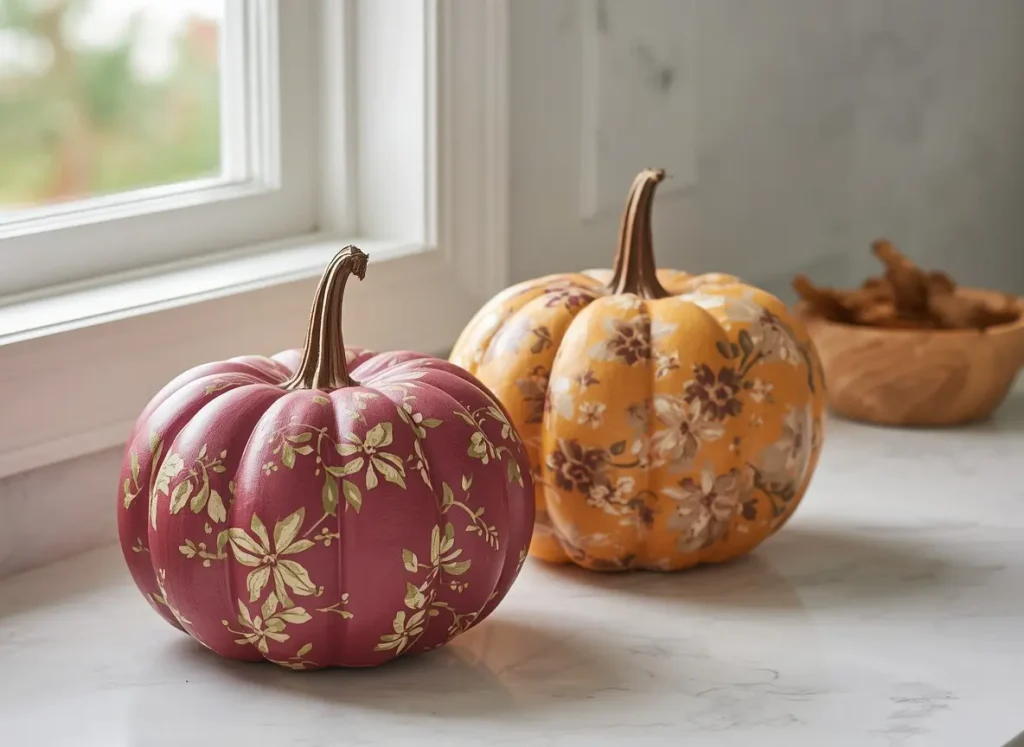
This is the easiest plastic pumpkins makeover on the list. Cut a fall-pattern napkin into pieces, brush decoupage glue such as Mod Podge onto the pumpkin, and smooth each piece down. Add another thin layer of glue on top to seal it. Floral and leaf patterns look gorgeous in burgundy and mustard, and no two pumpkins ever look the same.
6. Aged Gold Pumpkins for an Elegant Centerpiece

Spray the pumpkin gold, then dab on a mix of vinegar and water to create a soft, antique finish. Choose a quality spray paint made for plastic, like Rust-Oleum, for even coverage. Place three golden pumpkins on a dark green runner and they instantly become a stunning table centerpiece.
Quick Tips to Make Your Pumpkins Last
Store your finished pumpkins in a dry box with tissue paper so the paint does not rub off. If a stem breaks, a dab of hot glue fixes it in seconds.Mix two or three styles from this plastic pumpkins makeover list for a collected look, because different textures always feel more designer than one matching set.
Conclusion
A plastic pumpkins makeover costs very little but changes your whole fall look. Pick one idea, grab some paint or ribbon, and start with a single pumpkin. Once you see the result, you will want to transform the whole bin. Looking for more ways to keep your home tidy and stylish this season? Read our Closet Inspo Ideas for Small Closets: 10 Smart Storage Looks.

1 thought on “Plastic Pumpkins Makeover: 6 Easy DIY Ways to Make Them Look Expensive”